QMX + ATU-10
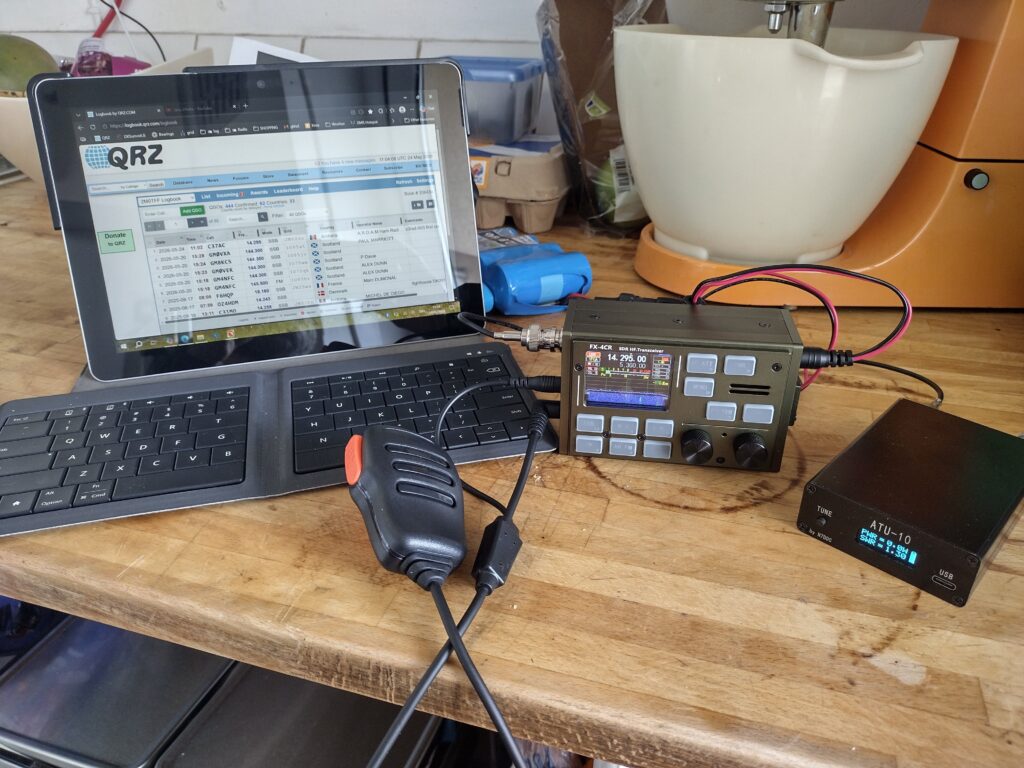
I recently bought an ATU-10 from KM9G. I tested it in my kitchen shack with the 5th floor horizontal folded random wire antenna and the FX-4CR, and it works a treat. Such a nice small package, with useful information like power and SWR. Latching relays mean that it uses almost no power, and the little guy even has its own way to load a HEX file to its microcontroller.
But when I tried it with the QMX, I was having poor luck. Turns out there were a few things I did not know. So if you want to use an ATU like this with a QMX, read on.
Firstly, the ATU-10 is programmed by default to tune with 1W minimum, which is not low enough for the QMX. So what you have to do is:
Get a USB-A to USB-C cable (the ATU-10 does not show up as a drive with a C-C cable). Plug in the tuner, and turn it on. You should see a small drive appear on your Windows machine.
Go over to the GitHub for the tuner HERE and download the HEX file for the current firmware (presently 1.6, it is in the ZIP file). Put the HEX file in a nice aptly named folder, make a copy of it and add an L to the end of its file name for low power, open this in Notepad++. You will see a lot of lines of weird numbers and letters.
On the GitHub the first bit of text below the directory tree describes what I am paraphrasing: scroll to the bottom of the HEX file and there is a line that starts with EEE, the 4th pair of dark numbers represent the minimum tune power (10, which means 1.0V), I changed this to 04 for 0.4V. Copy this whole line. Go back to the GitHub and open the Checksumm.html in your browser: paste this line in. It will show a bunch of weird things, but the bigger numbers on the lowest line of black text is what you need to change the last two characters of your thread to. A wordy mouthful, but it will make sense if you follow the steps. Try this, test it again, and if it has no red errors then you know what two last digits to correct your checksum in Notepad++. Save.
Drop the modified HEX file into the little disk that is on your tuner, disconnect and turn it back on. Your new firmware is now loaded, with the modified tune voltage.
Now, on the QMX there is a way to trigger the tuner at reduced power: enter the Menu, scroll down to Hardware Tests, then Tune SWR. Make sure the QMX, tuner and antenna are connected correctly, and that the tuner is on, then click the Menu button and it will output RF and the tuner should make things happy. This video explains it visually HERE.
I hope this is helpful.
Filed under: blog - @ May 30, 2026 4:29 pm